Blogfats · recipes · technique · Weston A. Price
How to Render Lard and Beef Tallow at Home: Step-by-Step Guide
A step-by-step guide to rendering pork and beef fat at home, on the stovetop or in the oven. It covers hot-fat safety, how to strain the fat, and how to store your lard and beef tallow.
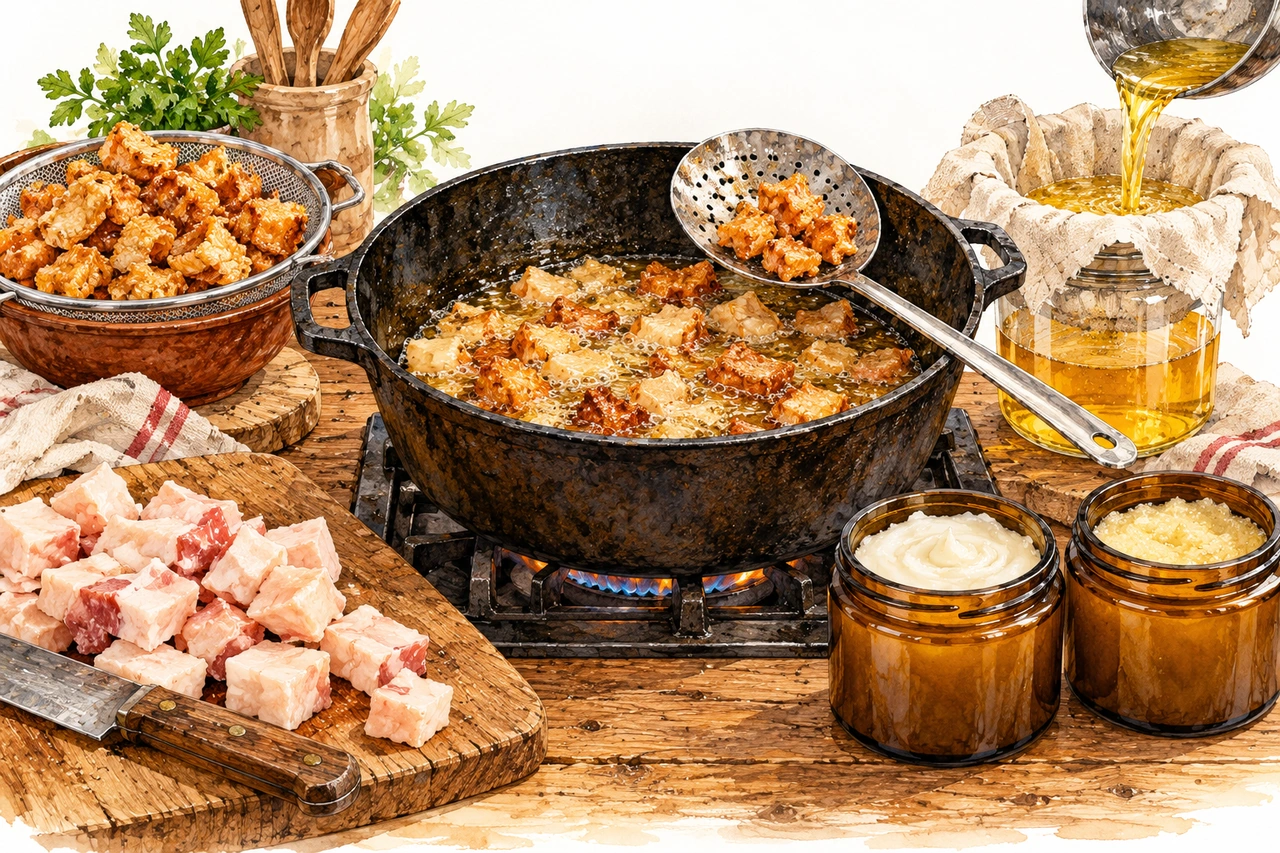
To render lard or tallow at home, chop the raw fat into small pieces and heat it slowly until the liquid fat has separated and the cracklings are dry and golden. Then strain it through a cloth and store it in glass. There are two ways to do it: on the stove, over low heat and starting with a little water, or in a low oven, with the fat in a basket set over a pot. Lard comes from pork fat and tallow from beef fat. The process is the same.
It's an old, simple, slow technique. What needs attention is safety: hot fat for hours, a heavy pot and hot glass. This step-by-step guide covers that at every stage.
What you'll need
- Raw fat: 1 kg is a good amount for the first time.
- A sharp knife and a cutting board, or a food processor.
- A heavy-bottomed pot, stainless steel or cast iron, with room for twice the volume of the fat.
- A fine sieve and a clean cotton cloth, or a paper filter.
- Clean, completely dry glass jars with lids.
- A kitchen thermometer, if you have one. It helps, but it isn't required.
What fat to ask for at the butcher
For tallow
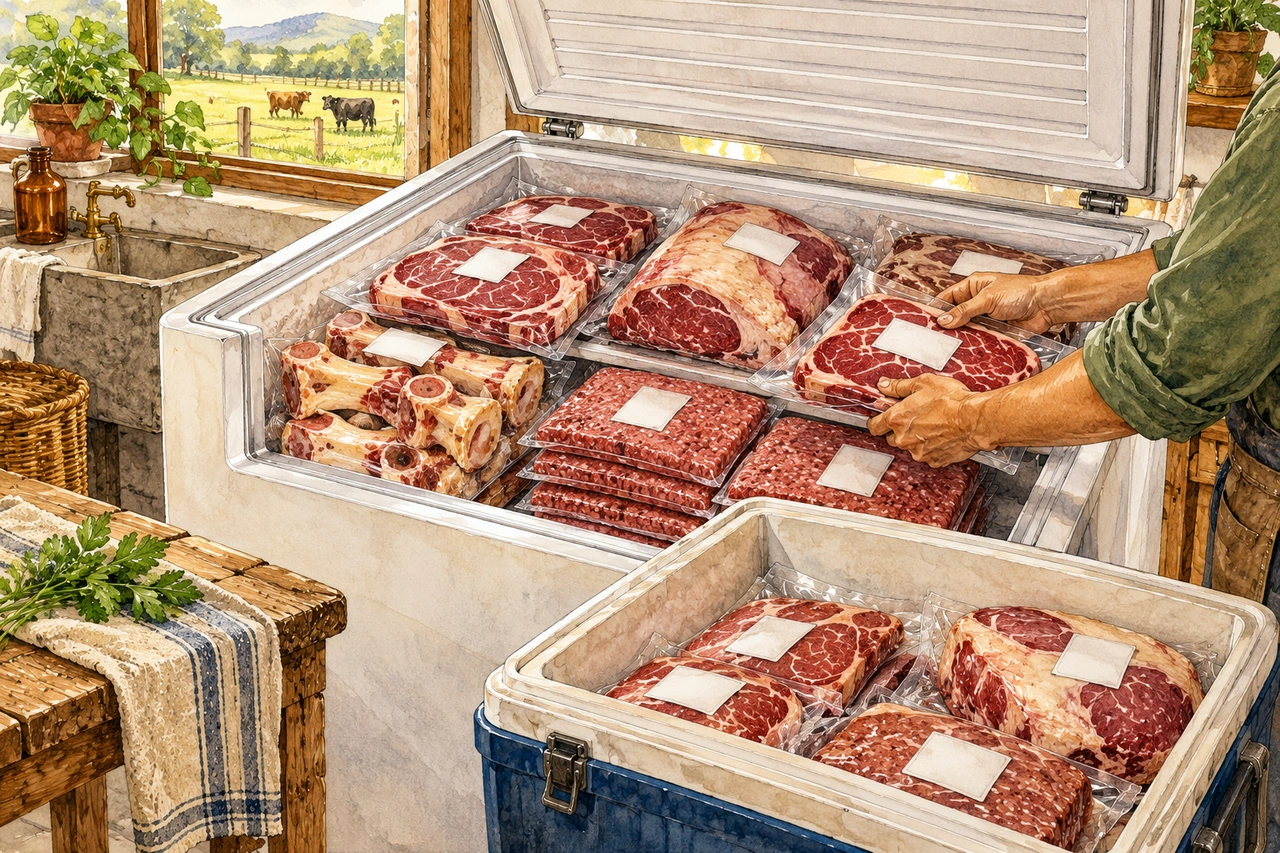
- Kidney fat: the firm mass that surrounds the kidneys and loin of the cow (known as suet). It gives the hardest tallow with the mildest flavor.
- Back fat and trimmings: the fat under the hide and between the cuts. It gives a softer tallow with more beefy flavor, and it often comes with bits of meat, which you remove beforehand.
For lard
- Internal fat: the fat around the pig's kidneys and loin (known as leaf lard). It gives the most neutral lard, the best for pastry and sweets.
- Fatback (toucinho): the fat from the back, under the skin. It gives a lard with a stronger flavor, good for sautéing and frying.
Ask for the fat without the skin, or remove the skin at home. The cleaner the fat, the cleaner the result.
Where the animal comes from matters if you want to know what you're eating. The Nu&Cru producers map helps you find farmers near you, and it's worth asking whether they sell the fat along with the meat. What to look for in the producer and on the label is covered in how to choose animal fat by origin and label, and why meat of known origin costs more is covered in grass-fed beef: why it costs more.
Prepare the fat
- Clean it. Remove any bits of meat, blood and skin. They burn before the fat does and leave an off flavor.
- Chop it small. Cut it into 1 to 2 cm cubes, or run it through the food processor. The smaller the pieces, the faster and more complete the melting. For lard, grinding helps a lot.
- Use very cold fat. When partly frozen, it cuts much more easily and doesn't slip under the knife.
Method 1: on the stove, over low heat
This is the fastest method and the easiest to keep an eye on.
- Start with water. Put the chopped fat in the pot and add about half a cup of water. The water keeps the pieces from sticking and burning before they release their fat. It evaporates along the way.
- Low heat, no lid. The fat will start to release liquid and bubble slowly. Stir from time to time with a long-handled spoon, scraping the bottom.
- Watch the bubbles. They are the water leaving the tissue. At first they are many and large; by the end they are few and small.
- Know when to stop. The fat is ready when the bubbles have almost stopped, the liquid is clear and the pieces have turned into dry, golden cracklings. For 1 kg, this takes a few hours. Don't let it smoke: smoke means the heat is too high.
- Turn off the heat and let it cool slightly before straining.
If you want a more neutral fat, for pastry and sweets, take it off the heat before the cracklings darken. Well-browned cracklings give the fat more flavor, which is good for the frying pan.
Method 2: Low Oven
This is the method Andrew J. Gardner describes in a Weston A. Price Foundation article as the simplest for a home kitchen: the fat never touches the hot bottom of the pan, so it doesn't burn (Gardner, Rendering Animal Fats, Made Easy, 2020).
- Set up the basket. Put the chopped fat in a steamer basket or a metal colander set over an ovenproof pot, leaving space between the bottom of the basket and the bottom of the pot. The melted fat drips down and collects underneath.
- Oven at about 105 °C, according to the author. The low temperature evaporates the water in the tissue without burning anything. If your oven doesn't go that low, choose the stovetop method instead.
- Stir from time to time. Mash the pieces with a spoon to release more fat.
- Be patient. The author says 4 kg of fat, which yields about 4 liters, can take 12 to 16 hours. Smaller batches finish much sooner.
- Finish when the cracklings are dry and almost nothing else is dripping.
One change from the original: the author suggests leaving the oven on overnight. Don't do that. The Ceará Fire Department (Corpo de Bombeiros do Ceará) advises never leaving the stove on unattended and turning it off if you need to leave (CBMCE, 2023). Start early, on a day when you'll be at home, and divide the fat into smaller batches.
The Way You May Already Be Doing It: Fat from Broth
When you lift off the disk of fat that hardens on top of a chilled bone broth, you are collecting fat by the wet method: the fat melted into the water and rose to the top. It comes with broth stuck to it, so it needs to be melted again over low heat until it stops bubbling, then strained before storing. The step-by-step is in how to reuse cooking fat.
Safety with Hot Fat
Melting fat is easy; accidents come from hot fat.
- Never throw water on hot fat, neither to "cool it down" nor to put out a fire. The water turns to steam all at once and scatters the fat (CBMCE, 2022). The water at the start of the stovetop method goes in while the fat is still cold.
- If it catches fire: turn off the stove and the gas, cover the pan with its lid or with a damp, well-wrung cloth, and wait for it to cool before uncovering, as the same Ceará Fire Department advises.
- Fill the pot only halfway, with the handle turned toward the inside of the stove.
- Keep children and pets away from the stove and countertop while the fat is hot.
- Use an oven mitt or a dry cloth to stir and to carry the pot. A damp cloth conducts heat.
- Dry, warm glass jars to receive the fat. Very hot fat in a cold jar can crack it.
- Open a window or turn on the exhaust fan: the smell is strong, especially with beef tallow.
Straining and Jarring
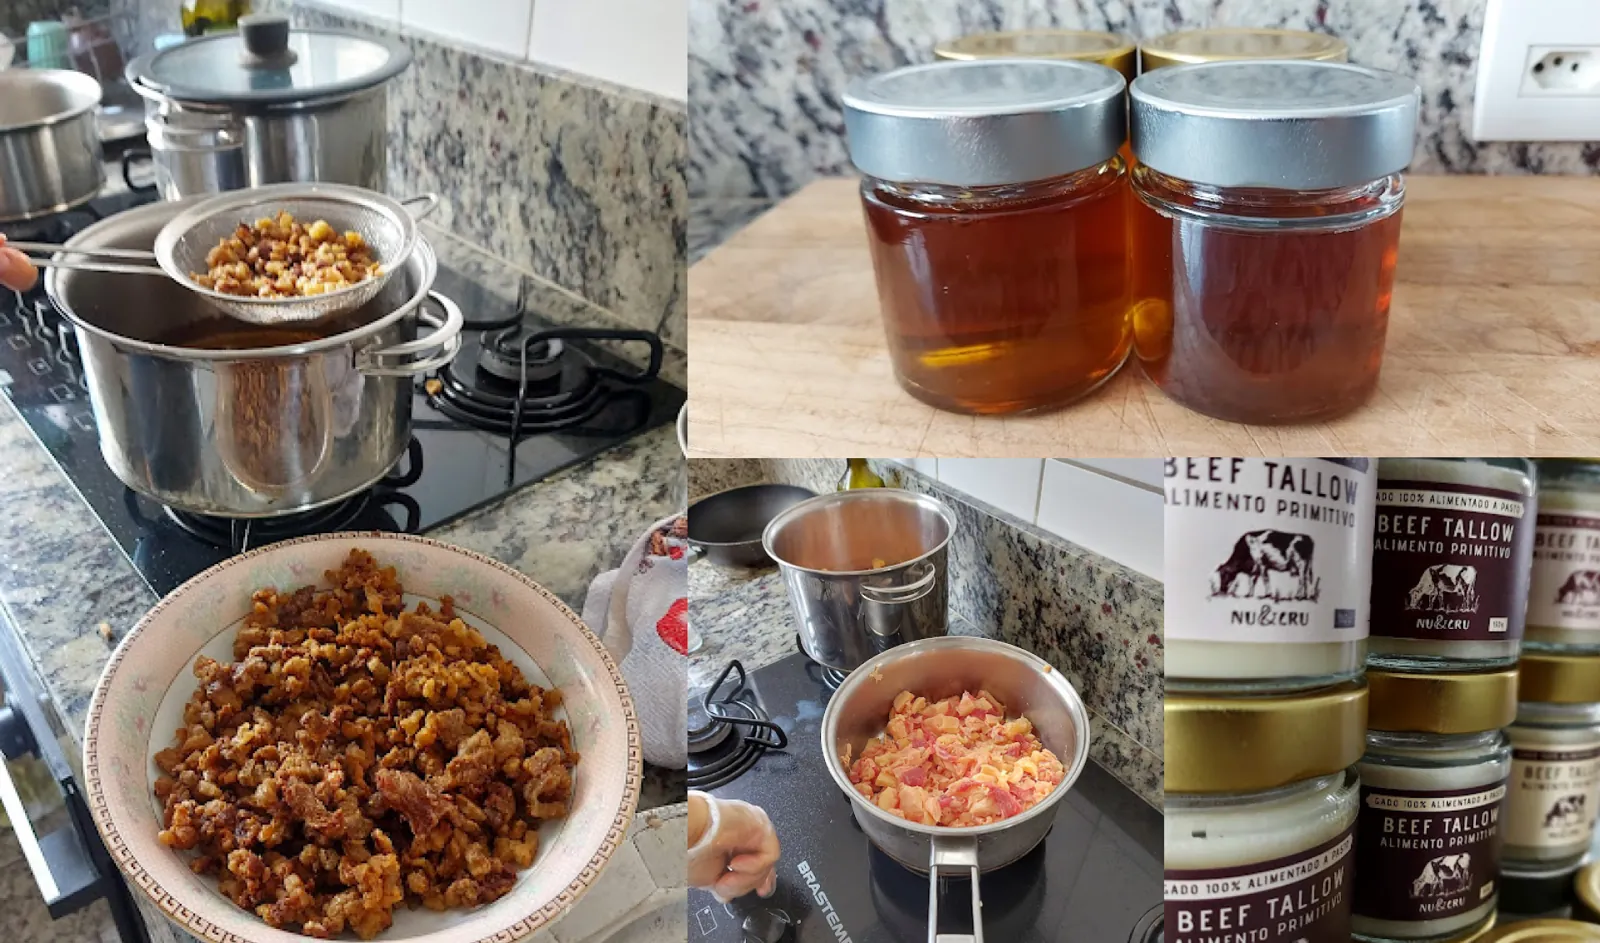
- Wait for the fat to cool slightly, while it is still liquid.
- Line a sieve with a clean cotton cloth or a paper filter, and set it over a clean pot or directly over the jar.
- Pour slowly. Leave the darker sediment at the bottom of the pot.
- Fill the jars almost to the rim, so little air is left inside, and put the lids on once they have cooled.
- Put them in the fridge. Gardner notes that cooling quickly makes the fat smoother and less grainy.
Lard turns white and creamy. Tallow is white or slightly yellowish, and much harder. A mild meaty smell is normal; a strong burnt smell means the heat got too high.
How to Store Lard and Tallow
Four things spoil a fat: water, air, light and heat. That is why the jar should be glass, full, tightly closed and kept away from the stove.
- Tallow: it is the most stable, because it has little polyunsaturated fat (about 4%, according to the USDA tables) and almost no water. A University of Nebraska publication says that tallow in a tightly closed container stays stable for months at room temperature and for more than a year in the fridge or freezer (Curry and Yates, 2026). Homemade tallow, which may hold a bit of leftover water, keeps better in the fridge.
- Lard: it has more polyunsaturated fat (about 11%, according to the USDA) and oxidizes more easily. Keep it in the fridge and freeze whatever you won't use in the next few months.
- Poultry fat: even more unsaturated (about 21%, according to the USDA). Keep it in the fridge and use it more quickly.
Contrary to what the previous version of this text said, tallow is not the only fat that keeps outside the fridge, nor does it last years under any conditions. For homemade fat, there is no official shelf life. Use your senses: a rancid smell, a bitter taste or mold on the surface mean it should be thrown away. To dispose of it without clogging the sink, see the last section of how to reuse cooking fat.
What to Do with the Cracklings
The cracklings left in the sieve are food. Salt them while still warm and eat them as a snack, on top of beans, salad or farofa (seasoned toasted cassava flour). They are also the base of the book's cracklings bread, which uses pork or beef cracklings. Store them in the fridge and eat them within a few days, because they still contain moisture and protein.
What About Chicken, Duck and Goose Fat?
The simplest way is to collect what drips off the bird as it roasts and what hardens on top of chicken broth. The other way is to render raw skin and fat with a little water, using the stovetop method. The step-by-step, with the onion and the skin cracklings, is in how to use the whole chicken.
How to Use Lard and Tallow in the Kitchen
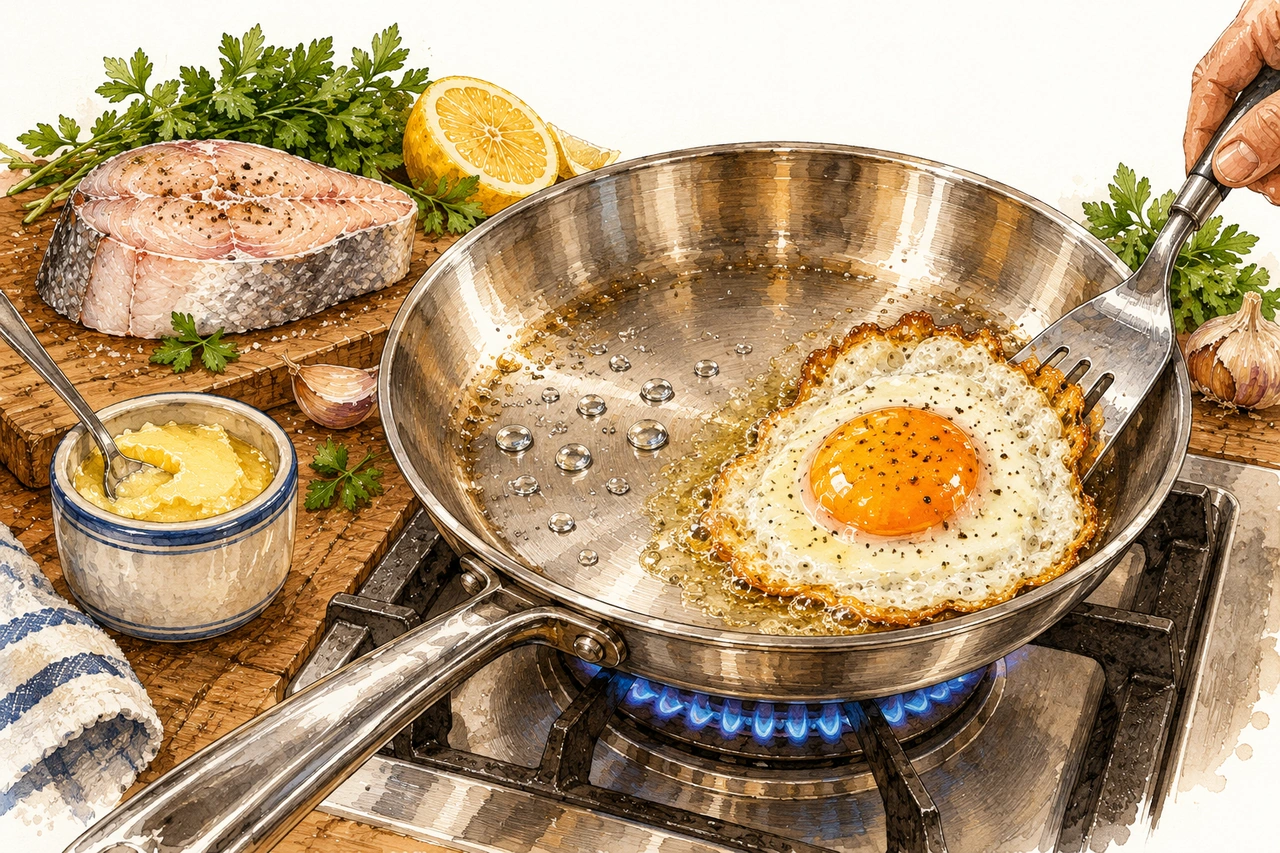
Lard and tallow go wherever a recipe calls for oil: frying, searing, sautéing, roasting. Tallow works very well for deep frying and for searing meat; lard rendered from leaf fat is the best choice for pie dough and empada (small savory Brazilian pies). The detailed, dish-by-dish comparison is in lard, tallow or butter: which to use for each dish. What tallow is, how it behaves over heat and what is known about saturated fat are covered in beef tallow: what it is and how to use it. And for searing in stainless steel without sticking, see how to cook in a stainless steel pan without sticking.
Recipes that call for this fat: fried kabocha squash in animal fat, bananas fried in animal fat, tutu de feijão (a Brazilian bean and cassava flour mash) and carne de panela (Brazilian pot roast). Lard also has its story told in Is lard bad for you? The unfairly blamed fat.
If You Prefer to Buy It Ready-Made
Read the label. Ideally it has a single ingredient, with no vegetable fat mixed in, no added antioxidants and the origin stated. Color alone tells you little, because lard from leaf fat comes out white from the start. Smell tells you more: fat with no smell at all, even when melted, has usually been refined and deodorized, steps that remove the volatile aroma compounds. Tallow and lard made only by melting keep a little of the animal's smell.
For those who don't want to render at home. Nu&Cru Beef Tallow is beef fat from 100% grass-fed cattle, a single ingredient, made by hand in small batches and packed in glass jars of 150 g and 450 g. The current batch is sold out; the page has the composition and a button to reserve the next one via WhatsApp.
Other Uses for Tallow: Soap, Balm and Lip Balm
For thousands of years, tallow and lard have also been used to make candles, soap and skin products, as the University of Nebraska publication reminds us. Three of these uses are still alive today:
- Soap. All soap comes from the reaction of a fat with an alkali, and traditional soap uses ash water (lye made from wood ash). What it is and how it's made is covered in ash soap: what it is, how it's made and how to use it. Alkaline ash water and caustic soda burn the skin and eyes: do not improvise either one at home without guidance. Nu&Cru Ash Soap, made with grass-fed beef fat using the traditional method, is sold out; the page takes reservations for the next batch.
- Skin balm. Well-filtered tallow is the base of tallow balms. What it's for, who it isn't recommended for and how to use it is in tallow balm: what it is, who it's for and how to use it, and the cold-weather routine for hands, feet and lips is in dry skin in winter. Nu&Cru Tallow Balm, either tallow only or with essential oils, is also sold out, with reservations for the next batch on the page.
- Lip balm. Tallow and beeswax make a simple salve for the lips; see tallow lip moisturizer.
Where to Start
Ask your butcher or farmer for 1 kg of kidney fat, from beef or pork, chop it finely while it's still very cold, and render it on the stovetop on a Saturday morning. It's the right amount to learn how it's done without taking up your whole day. Once your first jar is ready, the roughly 48 recipes in 181 Receitas Ancestrais that call for tallow, butter or lard as the cooking fat are a good place to put it to use.
Part of this text was based on an article by Andrew J. Gardner published by the Weston A. Price Foundation.
As informações têm caráter educativo e não substituem avaliação individual de profissional de saúde habilitado.